Mastering The Art Of Rose Drawing: A Beginner’s Guide To Capturing Beauty
Let’s be honest here, roses are like the rock stars of the flower world. They’re romantic, timeless, and let’s not forget—super photogenic. But what happens when you want to take that beauty off the page and into your own artistic hands? That’s where rose drawing comes in. Whether you’re a seasoned artist or just someone who doodles during boring meetings, learning how to draw roses can be a game-changer for your creative journey.
Now, before you grab your pencils and dive right in, let me tell you something. Drawing roses might seem intimidating at first, especially when you see those intricate petals and delicate details. But guess what? It’s totally doable, and I’m here to show you how. Stick around, because this guide is packed with tips, tricks, and some insider secrets that will have you sketching roses like a pro in no time.
By the end of this article, you’ll not only understand the basics of rose drawing but also learn how to add personality and flair to your artwork. So, whether you’re looking to create a masterpiece or just want to doodle something pretty, this is the place to be. Let’s get started!
Here’s a quick rundown of what we’ll cover:
- Why rose drawing is such a big deal
- Basic techniques to get you started
- Advanced tips for adding depth and detail
- How to bring your roses to life with shading and textures
Ready to bloom your creativity? Let’s go!
Why Rose Drawing Matters: The Ultimate Floral Art Form
Let’s talk about why roses are such a big deal in the art world. Sure, they’re pretty, but there’s more to it than just their looks. Roses have been a symbol of love, passion, and beauty for centuries. From ancient paintings to modern tattoos, roses have a way of capturing the essence of human emotion in a single bloom. And when you learn how to draw them, you’re not just creating art—you’re telling a story.
But here’s the kicker: rose drawing isn’t just about copying what you see. It’s about understanding the structure, the flow, and the personality of each petal. Every rose is unique, just like every artist. So, whether you’re drawing a single bloom or a whole bouquet, you’re adding your own touch to something that’s already beautiful.
Understanding the Anatomy of a Rose
Before you start sketching, it’s important to know what makes a rose, well, a rose. Think of it like learning the rules before you break them. Here’s a quick breakdown of the key parts:
- Petals: The star of the show. These are the soft, layered parts that give roses their iconic look.
- Stem: The backbone of the rose. It’s where all the action starts, and it’s crucial for adding balance to your drawing.
- Leaves: Don’t forget about the leaves! They might not be as flashy as the petals, but they add depth and texture to your artwork.
- Thorns: These little guys can be tricky to draw, but they add a touch of realism to your piece.
Now that you know what you’re working with, let’s dive into the fun part: actually drawing the rose!
Getting Started with Rose Drawing: The Basics
Alright, let’s get down to business. If you’re new to rose drawing, the best place to start is with the basics. You don’t need fancy tools or expensive materials—just a pencil, some paper, and a willingness to learn. Here’s a step-by-step guide to help you get started:
Step 1: Sketch the Basic Shape
Start by drawing a simple circle for the center of the rose. This will be the foundation for your petals. Then, add a rough oval shape around it to represent the outer petals. Don’t worry about making it perfect—this is just a guide.
Step 2: Add the Petals
Now it’s time to bring those petals to life. Start by adding a few overlapping shapes around the circle. Think of them as soft, curved petals that wrap around each other. Keep adding layers until you have the desired fullness.
Step 3: Draw the Stem and Leaves
Once you’ve got the petals sorted, it’s time to add the stem and leaves. Draw a long, slightly curved line for the stem, and then add a few teardrop-shaped leaves on either side. Don’t forget to add a couple of thorns for that extra touch of realism.
And there you have it—a basic rose drawing! Of course, this is just the beginning. As you practice, you’ll start to add more details and personality to your artwork.
Advanced Techniques for Rose Drawing
Now that you’ve got the basics down, it’s time to level up your skills. Advanced rose drawing techniques can take your artwork from good to great. Here are a few tips to help you get there:
1. Mastering Petal Layers
One of the most important aspects of rose drawing is capturing the layered effect of the petals. To do this, practice drawing each petal individually before combining them. Pay attention to how they overlap and fold, and don’t be afraid to experiment with different shapes and sizes.
2. Adding Texture
Roses aren’t just about smooth lines—they’re also about texture. Use short, gentle strokes to create the illusion of soft, velvety petals. For the stem and leaves, try using longer, more defined strokes to emphasize their structure.
3. Experimenting with Angles
Don’t limit yourself to drawing roses from just one angle. Try sketching them from different perspectives—up close, far away, or even from the side. This will help you understand the rose’s structure and improve your overall drawing skills.
Shading and Coloring: Bringing Your Roses to Life
Shading and coloring are what make your rose drawings pop off the page. Whether you’re using pencils, markers, or digital tools, adding depth and dimension can take your artwork to the next level.
Tips for Effective Shading
- Start with light, gentle strokes and gradually build up the darkness.
- Focus on the areas where the petals overlap to create shadows.
- Use a blending tool or your finger to smooth out the transitions between light and dark areas.
When it comes to coloring, don’t be afraid to get creative. While red roses are classic, there’s nothing stopping you from experimenting with pink, yellow, or even purple blooms. The key is to have fun and let your imagination run wild.
Common Mistakes to Avoid in Rose Drawing
Even the best artists make mistakes, and rose drawing is no exception. Here are a few common pitfalls to watch out for:
- Overworking the petals: Too much detail can make your drawing look cluttered. Focus on the most important elements and let the rest breathe.
- Ignoring the stem: The stem might not be as exciting as the petals, but it’s just as important. Give it the attention it deserves.
- Forgetting the shadows: Shadows add depth and realism to your drawing. Don’t skip this step!
Remember, practice makes perfect. The more you draw, the better you’ll get. So don’t be discouraged if your first few attempts don’t turn out exactly as you hoped.
Inspiration and References for Rose Drawing
When it comes to rose drawing, inspiration can come from anywhere. Look at photos of real roses, study famous artworks, or even take a stroll through a garden. The more you expose yourself to different styles and techniques, the more you’ll grow as an artist.
Here are a few resources to get you started:
- Art Books: Check out books on botanical drawing for in-depth tutorials and tips.
- Online Tutorials: YouTube and other platforms are packed with free tutorials from professional artists.
- Art Communities: Join online forums or social media groups to connect with other artists and share your work.
Tools and Materials for Rose Drawing
Having the right tools can make a big difference in your rose drawing journey. Here’s a list of essentials to get you started:
- Pencils: Start with a set of graphite pencils for sketching and shading.
- Paper: Choose a high-quality drawing paper that can handle different mediums.
- Colored Pencils/Markers: If you’re planning to add color, invest in a good set of colored pencils or markers.
Of course, the tools you use will depend on your personal preference and style. Don’t be afraid to experiment and find what works best for you.
Conclusion: Your Rose Drawing Journey Awaits
So, there you have it—a complete guide to mastering the art of rose drawing. From understanding the anatomy of a rose to adding those finishing touches, you now have all the tools you need to create stunning artwork. But remember, the most important thing is to have fun and let your creativity shine.
Now it’s your turn. Grab your pencils, pick up your paper, and start sketching those roses. And when you’re done, don’t forget to share your work with the world. Whether it’s on social media, in an art gallery, or just hanging on your fridge, your creations deserve to be seen.
So, what are you waiting for? Let your imagination bloom and start drawing those roses today!

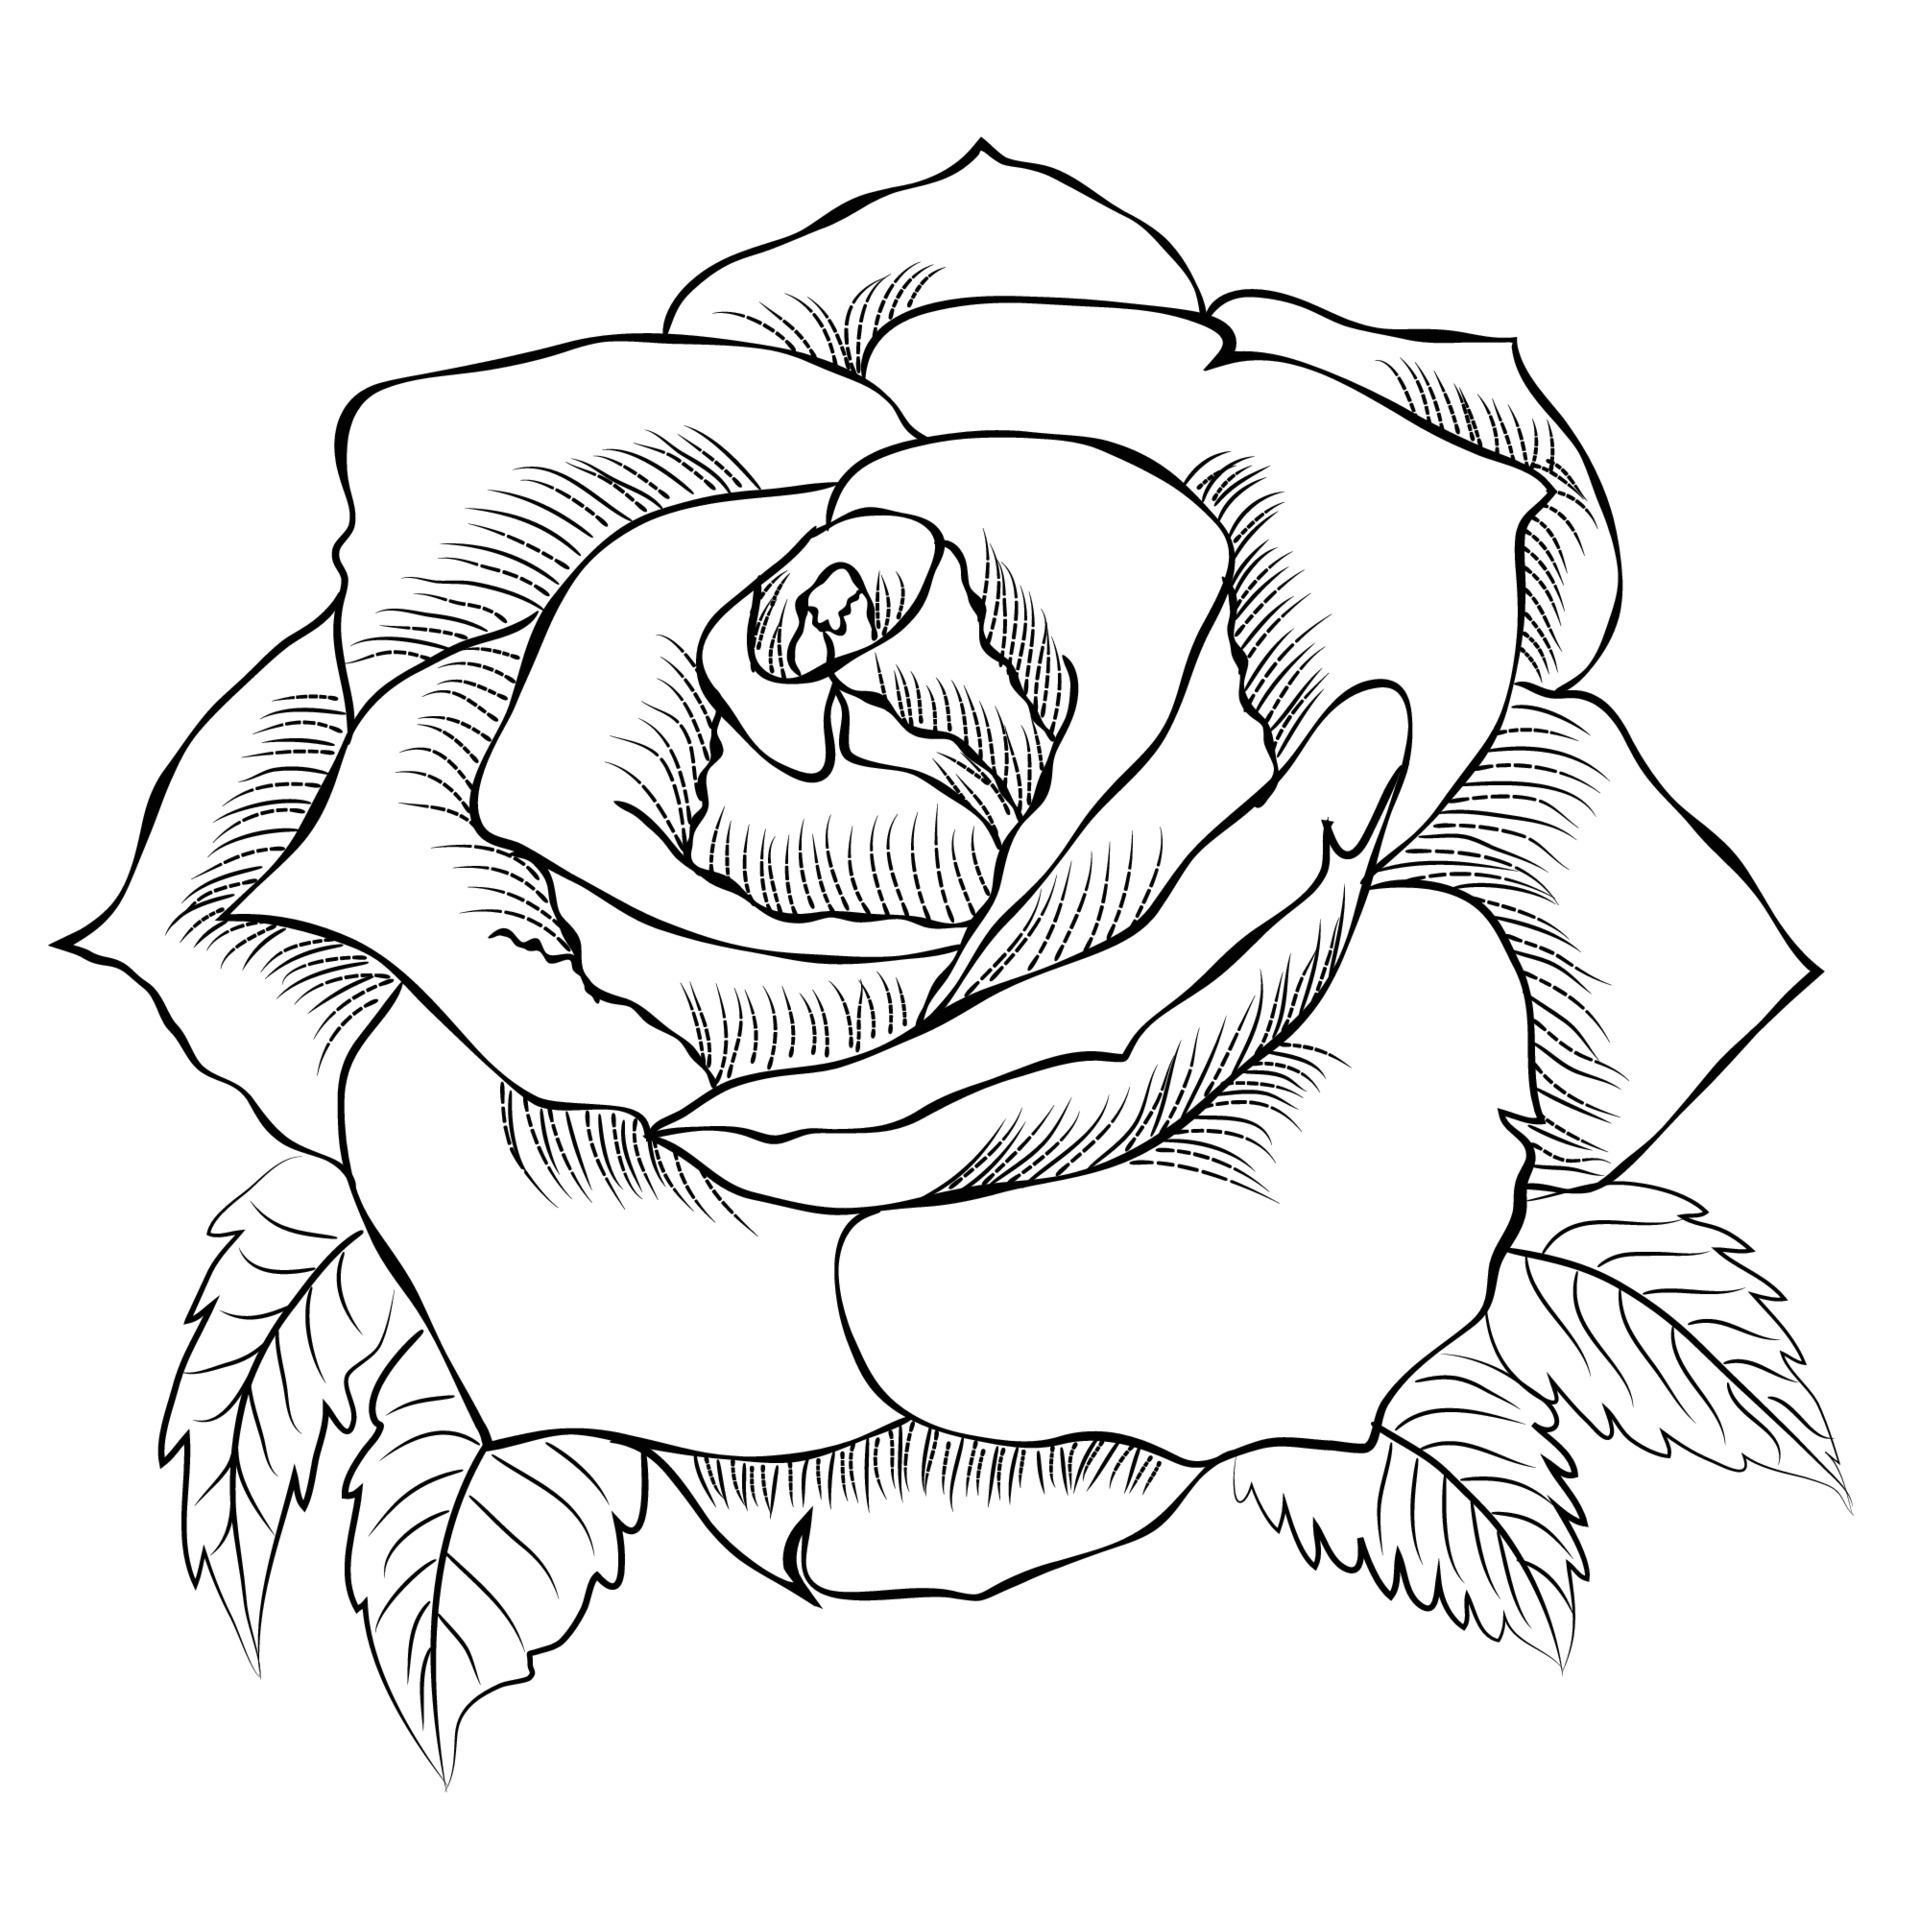
Hand drawn Rose line art drawing Images illustration collection
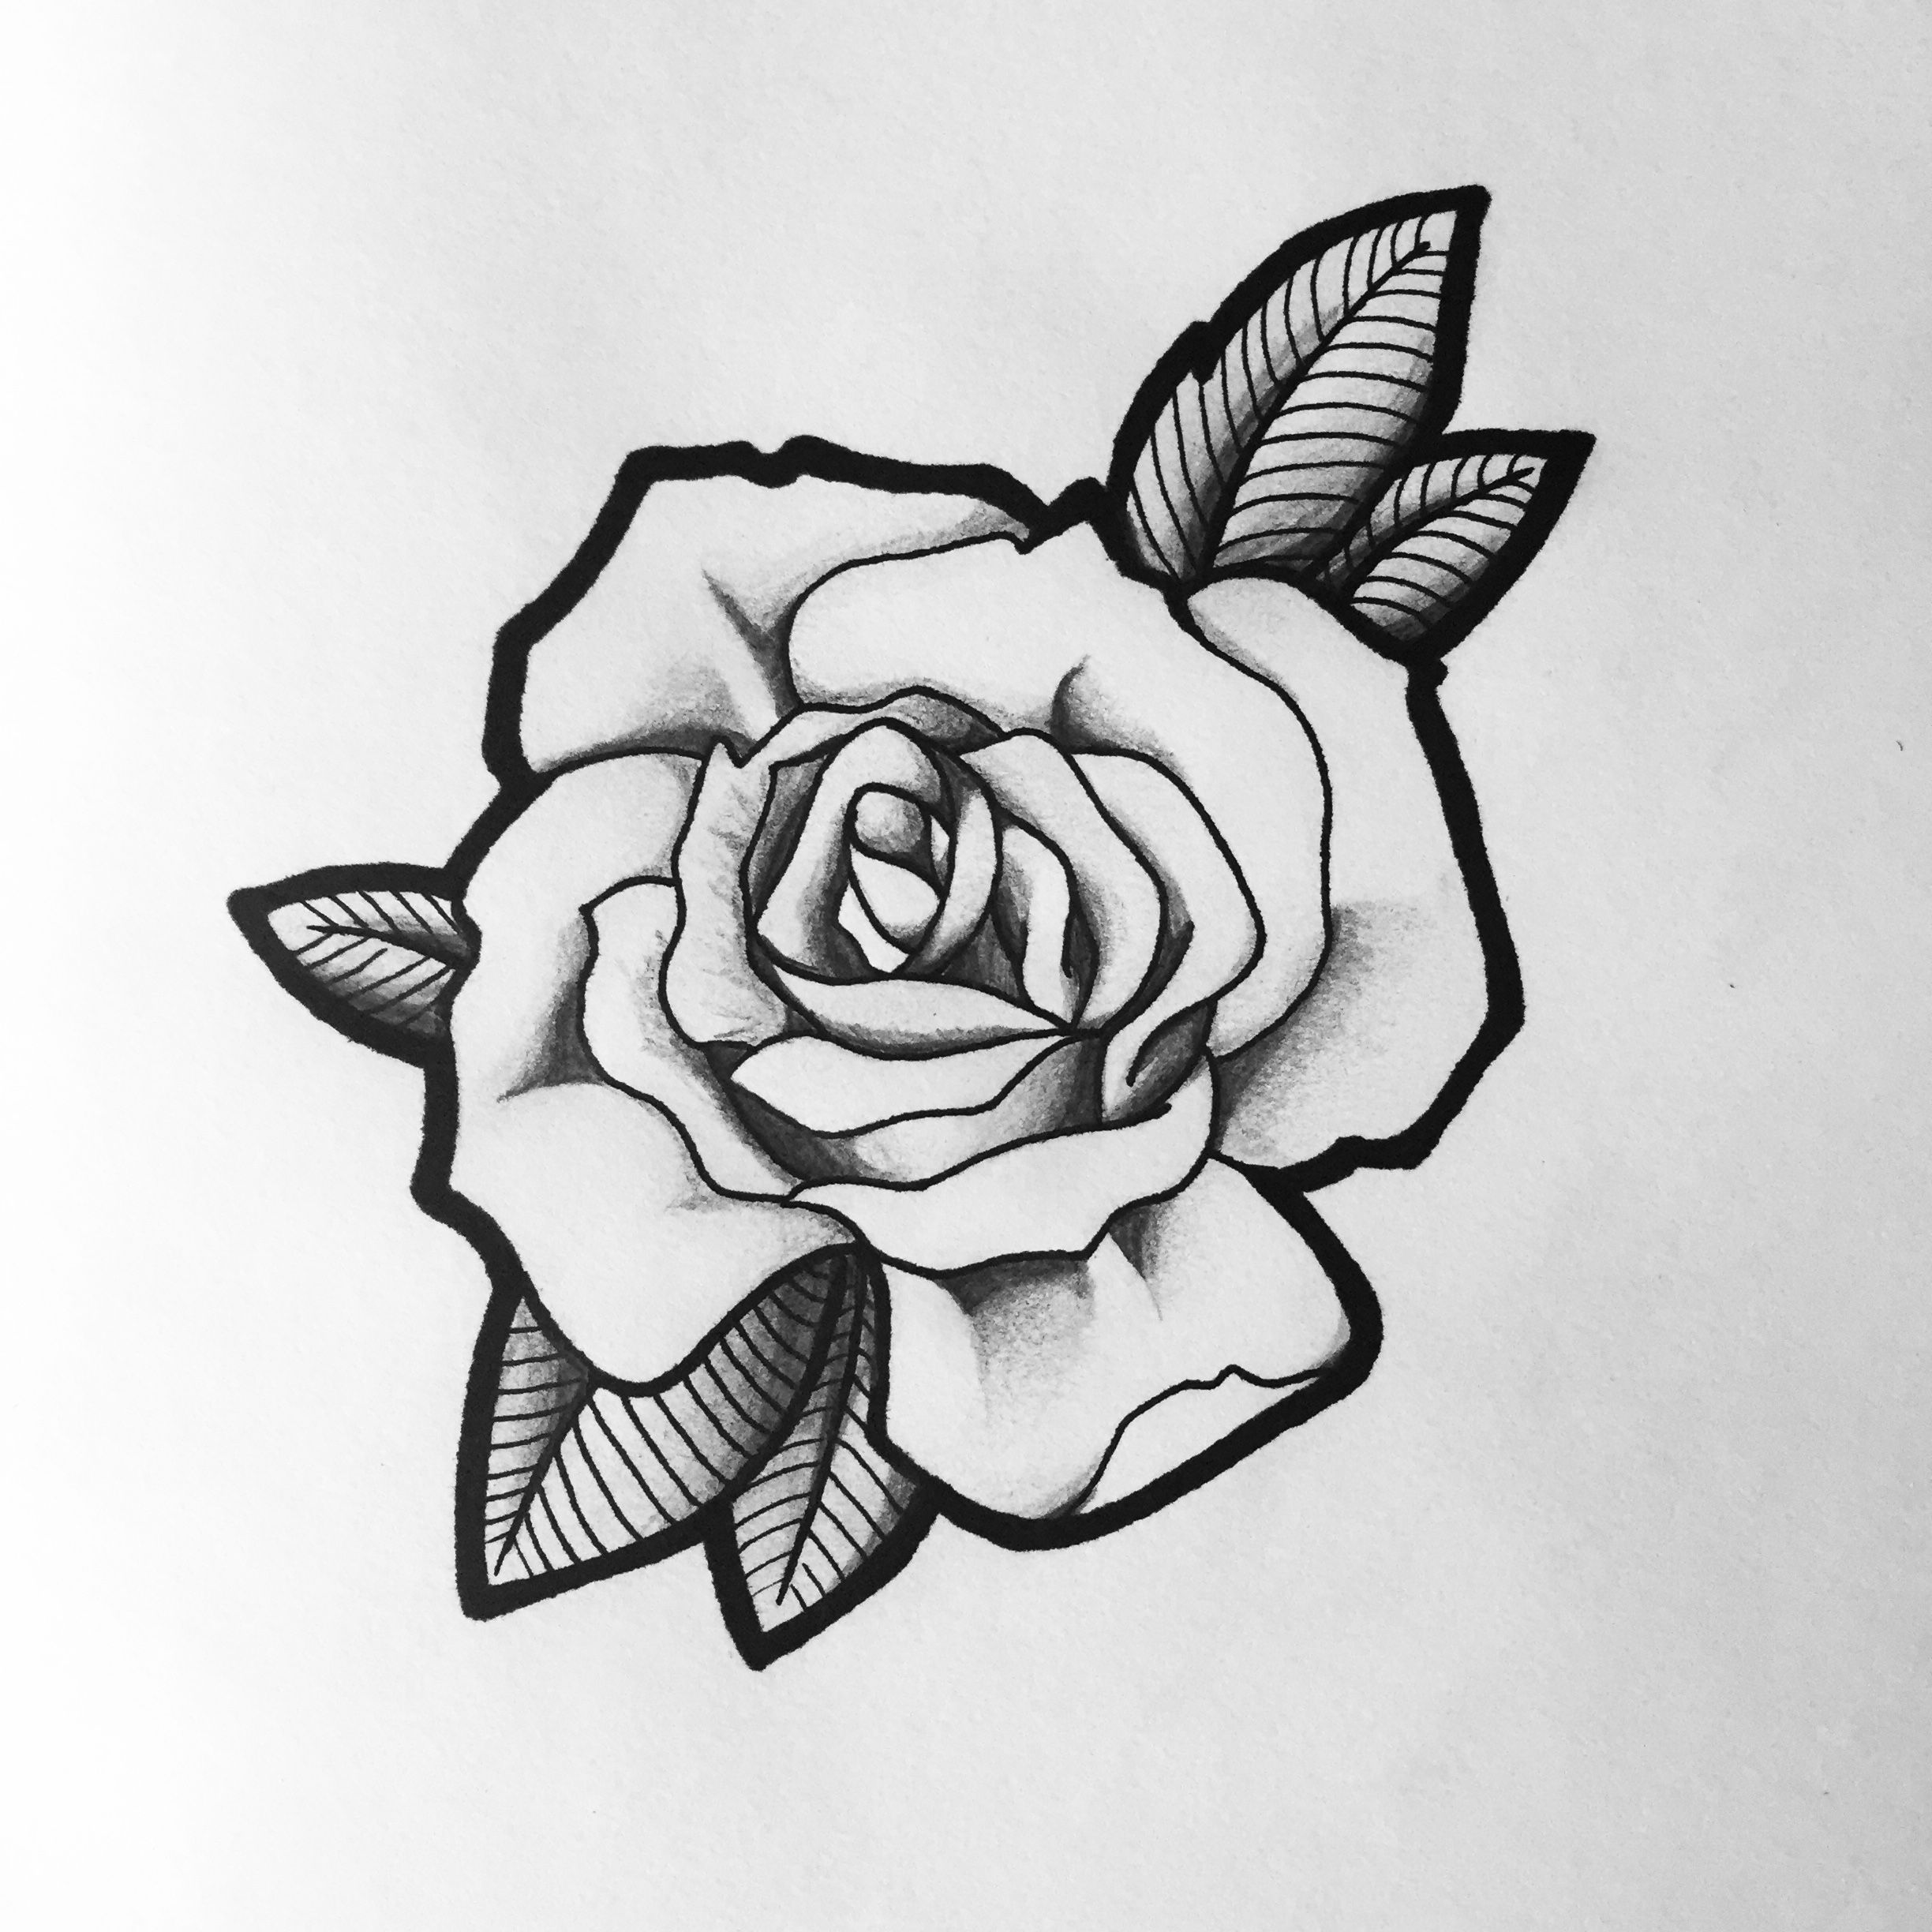
Traditional Rose Drawing at Explore collection of
